AnalogSenses

By ÁLVARO SERRANO

Guessing the next iPhone lineup →

August 11, 2015 |

Fun speculation by Graham Spencer over at MacStories:

Because my mind was a bit fuzzy on the historical iPhone lineups (particularly the early years), I decided to go back and make a graph to simply and clearly show what Apple has done in the past. The dates I used were based on when each iPhone was available in the US (not the announcement date). Tier 1 represents the newest and most advanced iPhone available at the time. Although there are slight differences between the iPhone 6 and iPhone 6 Plus, they are largely identical (both have an A8 processor with 1 GB RAM, etc) and as a result I’ve characterised them both as Tier 1. Tier 2 represents the next best iPhone available (often the previous year’s Tier 1 model) and Tier 3 is the next best again.

There’s no doubt one of his options will be correct. As for which one, I’m going to say Option 1A (Tier 1: iPhone 6s, 6s Plus. Tier 2: iPhone. Tier 3: iPhone 5s). I don’t think we’ll be seeing a plastic iPhone 6c, much less an iPhone 6c Plus. I’d love to see Option 2A, with Apple releasing a 4-inch iPhone 6s (Mini?) alongside the 4.7-inch and 5.5-inch models, but I’m not getting my hopes up.

♤ ♧ ♡ ♢
♤ ♧ ♡ ♢

The Everyday Messenger bag by Peak Design on Kickstarter →

August 10, 2015 |

The folks at Peak Design are back with yet another massively successful Kickstarter project. This time, they set out to design and create the perfect camera bag, not only for photographers, but for everyone else, too:

The Everyday Messenger™ is a beautiful, intelligent and adaptable messenger bag designed around the workflows of photographers, creatives, travelers and commuters. It’s more than a camera bag, it’s your day-to-day essential carry workhorse, and it does things other camera bags can’t.

Of course they’re the ones selling the bag, so take their enthusiastic words with a grain of salt. Still, I have to say, the design does look awesome, and I love the many clever features that are seamlessly integrated into the bag.

I’ll definitely be keeping an eye on this project, and will probably end up supporting it before it ends. It’s not like they need the help — they’re already at $1.8 million, almost 20x their initial goal — but it is a great way to ensure more awesome Kickstarter projects keep coming.

Also, check out the video below to get more information about the bag’s design. Great stuff:

♤ ♧ ♡ ♢

August 08, 2015

August keeps rolling by, and things continue to be mostly calm on the Internet. It must be the heat.

Due to some unexpected and unavoidable errands, the current issue is getting published a few hours later than usual, so this will be more like Evening Coffee for some. My apologies.

Then again, any time is coffee time, so let’s get to it.

Issue #9: on obsession, searching for immortality, the birth of the nuclear age, and Jon Stewart’s final show

There are some very emotional pieces in this week’s selection. From the Hiroshima and Nagasaki bombings, to recognizing our own obsessions, some of these pieces will stay with you long after you’ve finished reading them.

Enjoy.

10 years blogging | Paul Stamatiou →

Paul’s website turned 10 this week (congratulations!), and he took some time to reminisce about everything that’s happened in his life in that time. Great stuff.

Up in the air: meet the man who flies around the world for free | Ben Wofford →

Excellent piece on the life of Ben Schlappig, one of the best Hobbyists in the world:

Schlappig owes his small slice of fame to his blog “One Mile at a Time,” a diary of a young man living the life of the world’s most implausible airline ad. Posting as often as six times a day, he metes out meticulous counsel on the art of travel hacking — known in this world as the Hobby. It’s not simply how-to tips that draw his fans, it’s the vicarious thrill of Schlappig’s nonstop-luxury life — one recent flight with a personal shower and butler service, or the time Schlappig was chauffeured across a tarmac in a Porsche. But his fans aren’t just travel readers — they’re gamers, and Schlappig is teaching them how to win.

Fascinating stuff, but in all honesty, I can’t imagine living indefinitely in a permanent travel state. To me, there’s nothing like arriving home after a long trip and reclaiming my own personal space. That said, I can see how the luxury and comfort associated with the Hobby could be addictive for some. Via Tools & Toys.

Brands are paying Instagram star ’The Fat Jew’ $6,000 for a shout-out in his photos | Lara O’Reilly →

Welcome to the incredible world of professional Instagrammers. Unreal.

An open letter to my 15-year-old self just before the start of high school | David Cain →

This week we got another dose of David Cain’s brilliance:

Your choice of a post-secondary path—you won’t get this right either. Like all important choices teenagers must make, you need to be at least thirty to get it right. No seventeen-year-old has any real idea who they are or what they’re doing. The only strategy is to do new and interesting things as frequently as possible, trying to find those veins of meaning, doing as little permanent damage in the meantime to your health and your finances. There is enormous pressure to get this choice right, and you won’t.

The most cost-effective and useful post-secondary program is probably a solo backpacking trip. People mature at double speed when they are fending for themselves in foreign countries. You can get wiser and younger at the same time. This is a loophole in human development, take advantage.

I found myself silently nodding in agreement all throughout this piece.

Obsession | Matt Gemmell →

Spot-on piece by Matt, as usual:

I can be consumed by an idea – whether it was for an app, or now an article, or a story – and then nothing else matters. I’ll disappear into hours of planning (previously, drawings of interfaces, and jotting down lists of features and implementation notes; now, outlining and playing with narrative arcs, character sketches and plot points), and sometimes be unable to sleep until I’ve begun the act of creating whatever it is. When I do sleep, I wake up desperate to get straight back to work.

That’s a blessing, without question. That kind of drive is a gift, which we’re granted all too infrequently. It can lead to a frightening level of output, where we enter what’s almost an altered state of consciousness, and hours tick by like minutes. The zeal of a compelled mind is the natural state of the prolific creator.

But to be prolific, you have to finish.

Matt is absolutely right, but I have the opposite problem: I need to finish.

I’ve been unable to sleep properly through most of this week due to something like this. I don’t like it, but I can’t really help it. It’s as if my brain is unable to properly disconnect and rest until I’ve experienced some measure of closure. If I’m writing, that’s usually finishing an entire piece, or at least a chapter in a longer article. If I’m processing pictures, it’s getting through an entire batch, or collection.

If, for example, I want to buy a new camera, I won’t stop until I’ve researched every possible model and compared at least 10 different prices across different stores. And even then, I won’t be able to put my mind to rest until I’ve actually pulled the trigger and bought it. It’s exhausting.

Luckily, as soon as I do that, I sleep like a baby.

Can we reverse the ageing process by putting young blood into older people? | Ian Sample →

Fascinating — and quite scary — piece by Ian Sample for The Guardian:

Rando is more upbeat about infusing patients with pro-youthful proteins for short periods. An elderly person having surgery might get an infusion to help them heal like a teenager. “Let’s say it works. If you can target tissues and improve wound healing in older people, that would be a feasible approach. It would not be about making 90-year-olds younger, or having people live to 150. It’s about healthy living, not longer living,” he said.

My father jokes all the time that his will be the last human generation to die. At the rate science is advancing, he may well turn out to be right.

Film is dead (long live film) | Michael Fraser →

Michael Fraser reacts to Fuji’s recent announcement that they’re discontinuing some of their film emulsions and raising prices across the board:

What we need in the film photography community is a small number of companies (Fuji, Kodak, Ilford, and perhaps Ferrania and CineStill), producing a small number of high quality films that service a particular niche of the market. Fuji’s production model ultimately may not be scalable to the production levels required, and thus I wouldn’t be surprised to see them ultimately exit the market. Kodak appears to have scaled nicely down to a few core films, and they have a long-term deal with Hollywood to continue making (and selling) motion picture film; this bodes very well.

It makes sense. If companies are too busy making many different film types in a shrinking market, they will reach a point where things will no longer be sustainable. A more sensible approach would be to go with a small number of core products and stay loyal to them.

Besides this piece, Michael also published an example of the results he’s been getting from his DSLR-based film scanning process, and they are indeed gorgeous. Beating a 4x5 sheet of Kodak Portra scanned at 75 Megapixels is certainly a tall order.

Portraits with Sony E-mount primes: Zeiss Batis 85mm f/1.8 vs. 90mm macro vs. 55mm f/1.8 | Mathieu Gasquet →

Interesting comparison over at MirrorLessons:

You will notice that the Zeiss Batis has a smoother bokeh and produces less of a “swirl” effect than the 90mm. But the latter looks good in terms of bokeh rendering too. Both are really sharp. The 55mm on the a6000 does a good job as well. It is slightly less sharp but this is also due to the lower resolution of the a6000. The bokeh is less smooth than the other two lenses but I like its rendering and it remains a more than valid choice for portraits.

If you’re on the lookout for a great portrait lens for the Sony E-mount system, it looks like you have at least three perfectly good choices.

Why ‘Do What You Love’ Is Pernicious Advice | Bouree Lam →

In this interview, Japanese writer Miya Tokumitsu talks about how the expectation by employers that workers be passionate about their jobs may not be as positive as we’ve been led to believe:

When I found that Craigslist posting [for cleaners who were passionate], I was super depressed. You’re demanding that this person—who is going to do really hard physical work for not a lot of money—do extra work. On top of having to scrub the floors and wash windows, they have to show that they’re passionate too? It’s absurd and it’s become so internalized that people don’t even think about it. People write these job ads, and of course they’re going to say they want a passionate worker. But they don’t even think about what that means and that maybe not everyone is passionate.

And later:

The most cynical explanation is that employers demand passion because they don’t want to hear complaints. If you make passion a job requirement, you can’t complain about your workload.

Food for thought. The entire interview is extremely interesting, and well worth your time.

Nagasaki: the last bomb | Alex Wellerstein →

Great piece by Alex Wellerstain for The New Yorker:

When we remember the destructive birth of the nuclear age, we tend to focus on Hiroshima. It was first, and firsts get precedence in memory. It was also more devastating an attack than Nagasaki, with nearly twice as many dead and injured and three times as much land area destroyed. (This was in spite of the fact that the Little Boy, the bomb dropped by the Enola Gay, was only three-quarters as explosive as the Fat Man.) But if Hiroshima was, from a military perspective, relatively well considered, well planned, and well executed, Nagasaki was almost the opposite. From the very beginning, it was a JANCFU—a sign that this new era was as likely to be a comedy of errors and near-misses as the product of reason and strategy.

Hiroshima | John Hersey →

Speaking of Hiroshima, this piece is from The New Yorker’s August 1946 issue, and is available in The New Yorker’s online archives. John Hershey tells the incredible story of six of Hiroshima’s survivors:

As Mrs. Nakamura stood watching her neighbor, everything flashed whiter than any white she had ever seen. She did not notice what happened to the man next door; the reflex of a mother set her in motion toward her children. She had taken a single step (the house was 1,350 yards, or three-quarters of a mile, from the center of the explosion) when something picked her up and she seemed to fly into the next room over the raised sleeping platform, pursued by parts of her house.

Timbers fell around her as she landed, and a shower of tiles pommelled her; everything became dark, for she was buried. The debris did not cover her deeply. She rose up and freed herself. She heard a child cry, “Mother, help me!,” and saw her youngest—Myeko, the five-year-old—buried up to her breast and unable to move. As Mrs. Nakamura started frantically to claw her way toward the baby, she could see or hear nothing of her other children.

Absolutely terrifying.

I was there for Jon Stewart’s final night on The Daily Show | Hilary Kissinger →

Beautiful article on Jon Stewart’s final Daily Show:

But Jon Stewart’s legacy at TDS isn’t that he did “more than comedy.” It’s that comedy is more. Laughter is healing, but it’s also surprising, condemning, inciting, and sometimes infuriating. It makes change in the world. Stewart isn’t the first comedian to have an impact on the political landscape, but his consistent presence in American culture has given a new shape to comedy’s identity. We recognize its power in new ways.

Afterword

This week was quite intense as far as activity is concerned, although my writing output hasn’t been substantially different from other weeks. But there’s been one thing I’ve already hinted at that’s kept me busy: I’m right in the middle of transitioning to a new camera system.

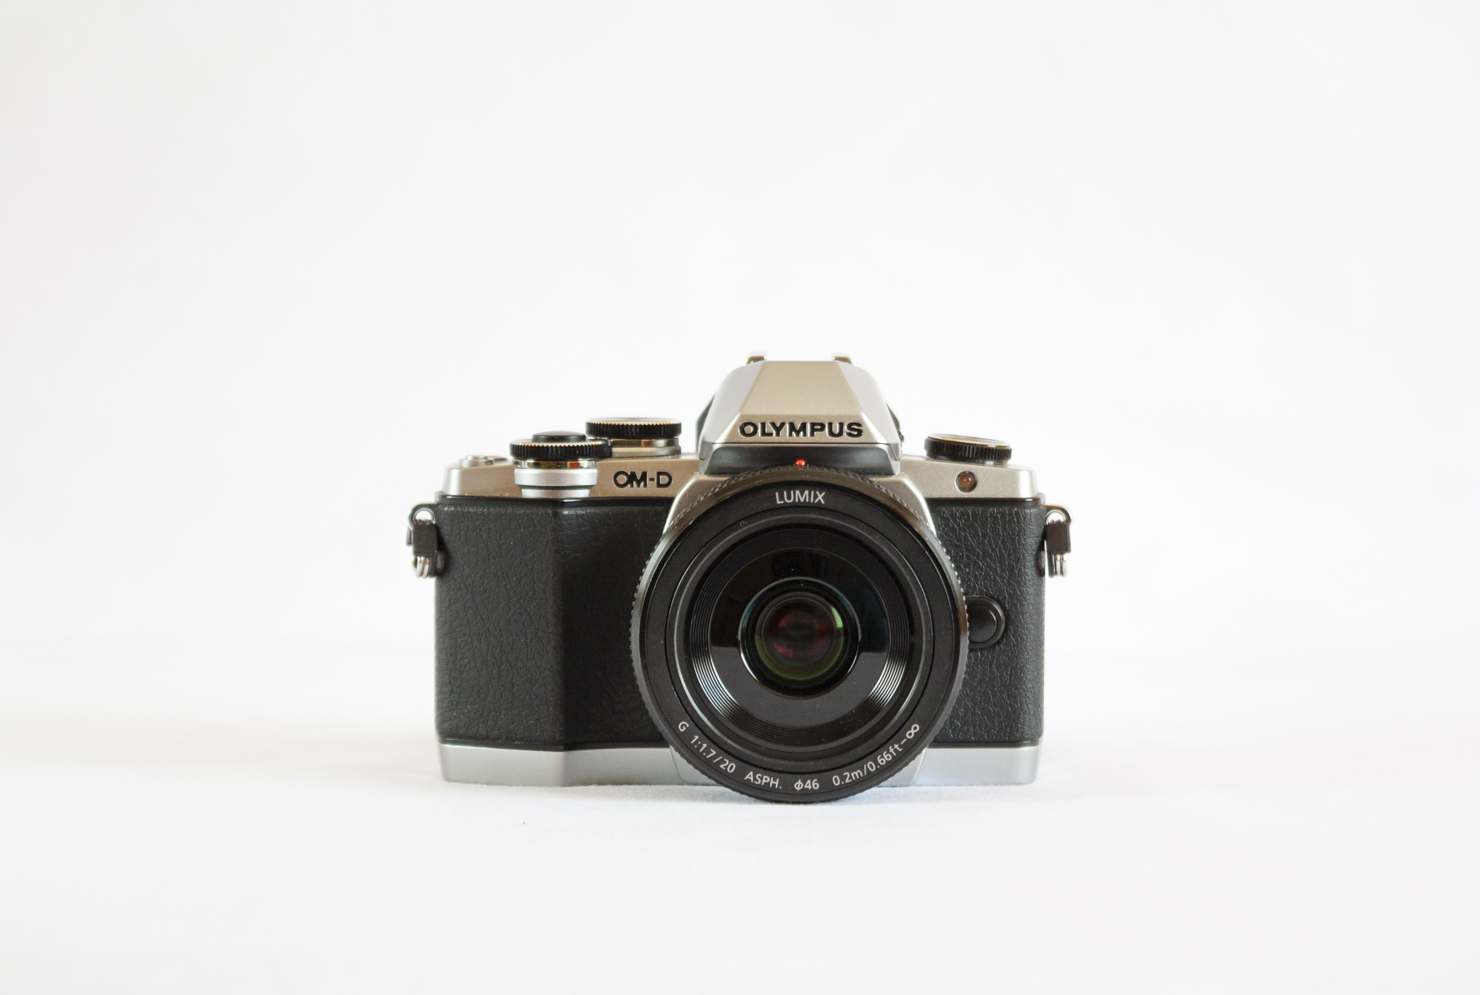
Last week, I finally made the decision to upgrade from my Micro Four Thirds camera, the amazing Olympus OM-D E-M10, to a new Full Frame camera: the Sony A7 Mark II.

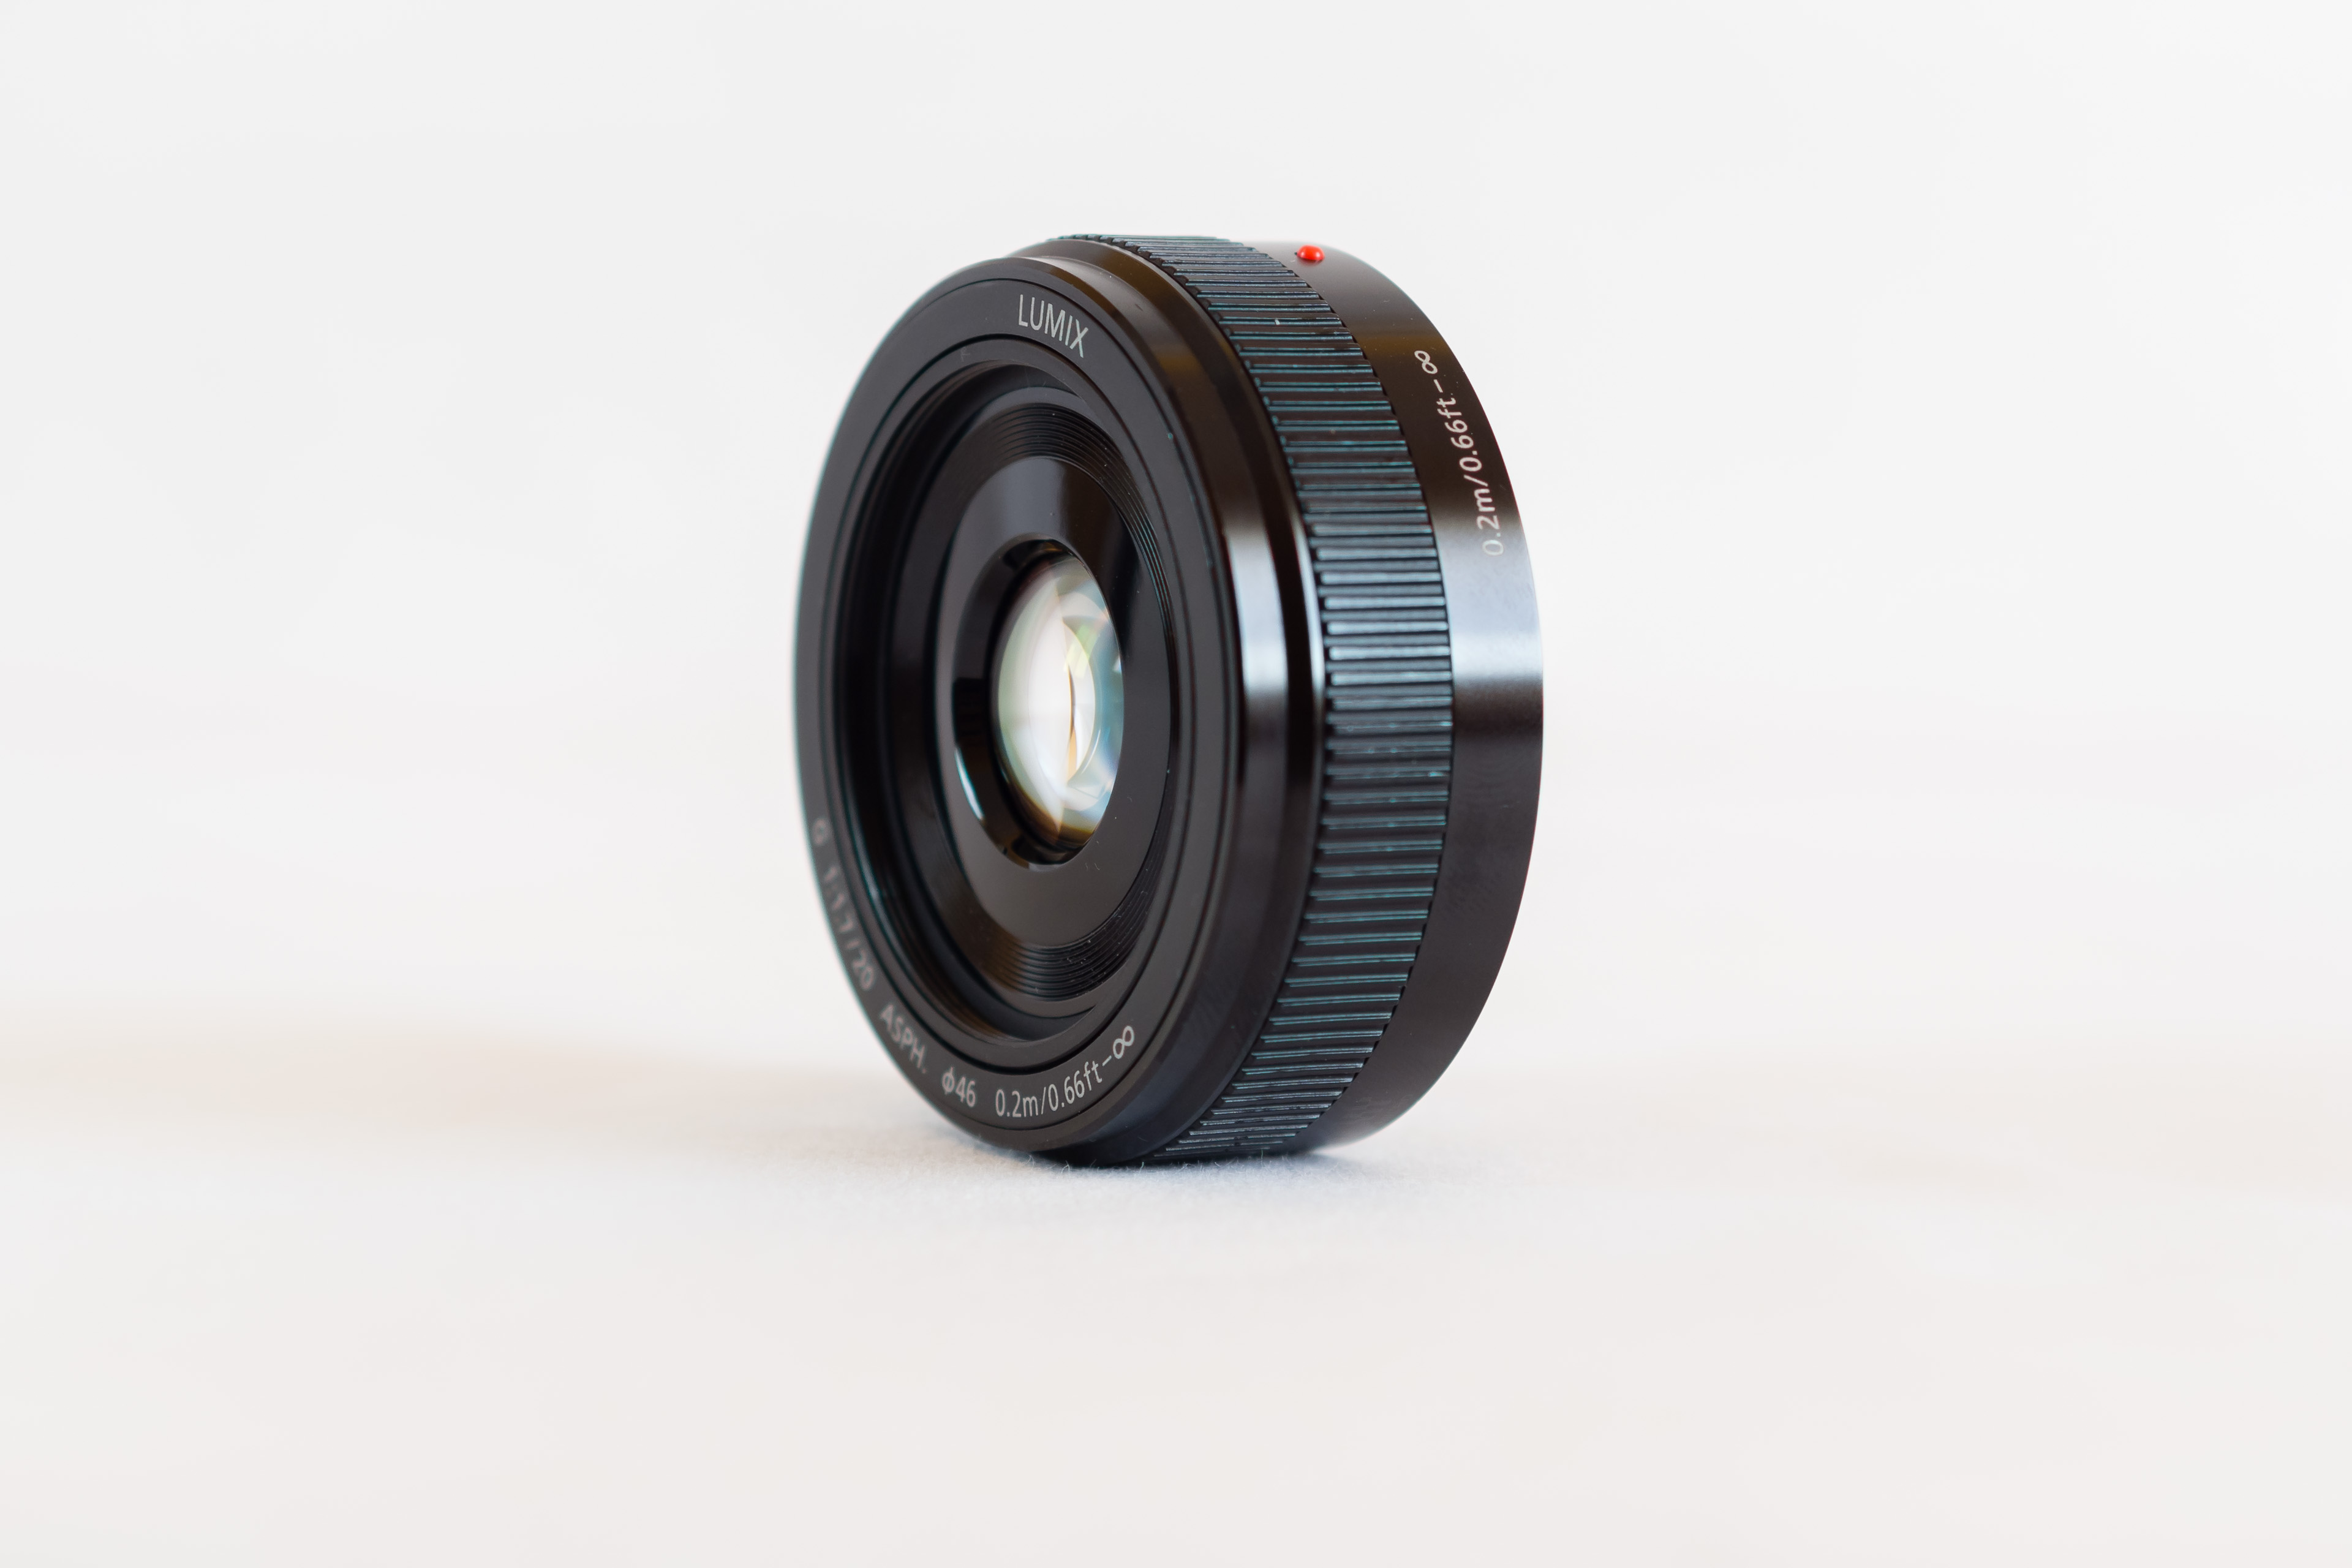
My Olympus OM-D E-M10 has to go, along with the rest of my MFT gear.

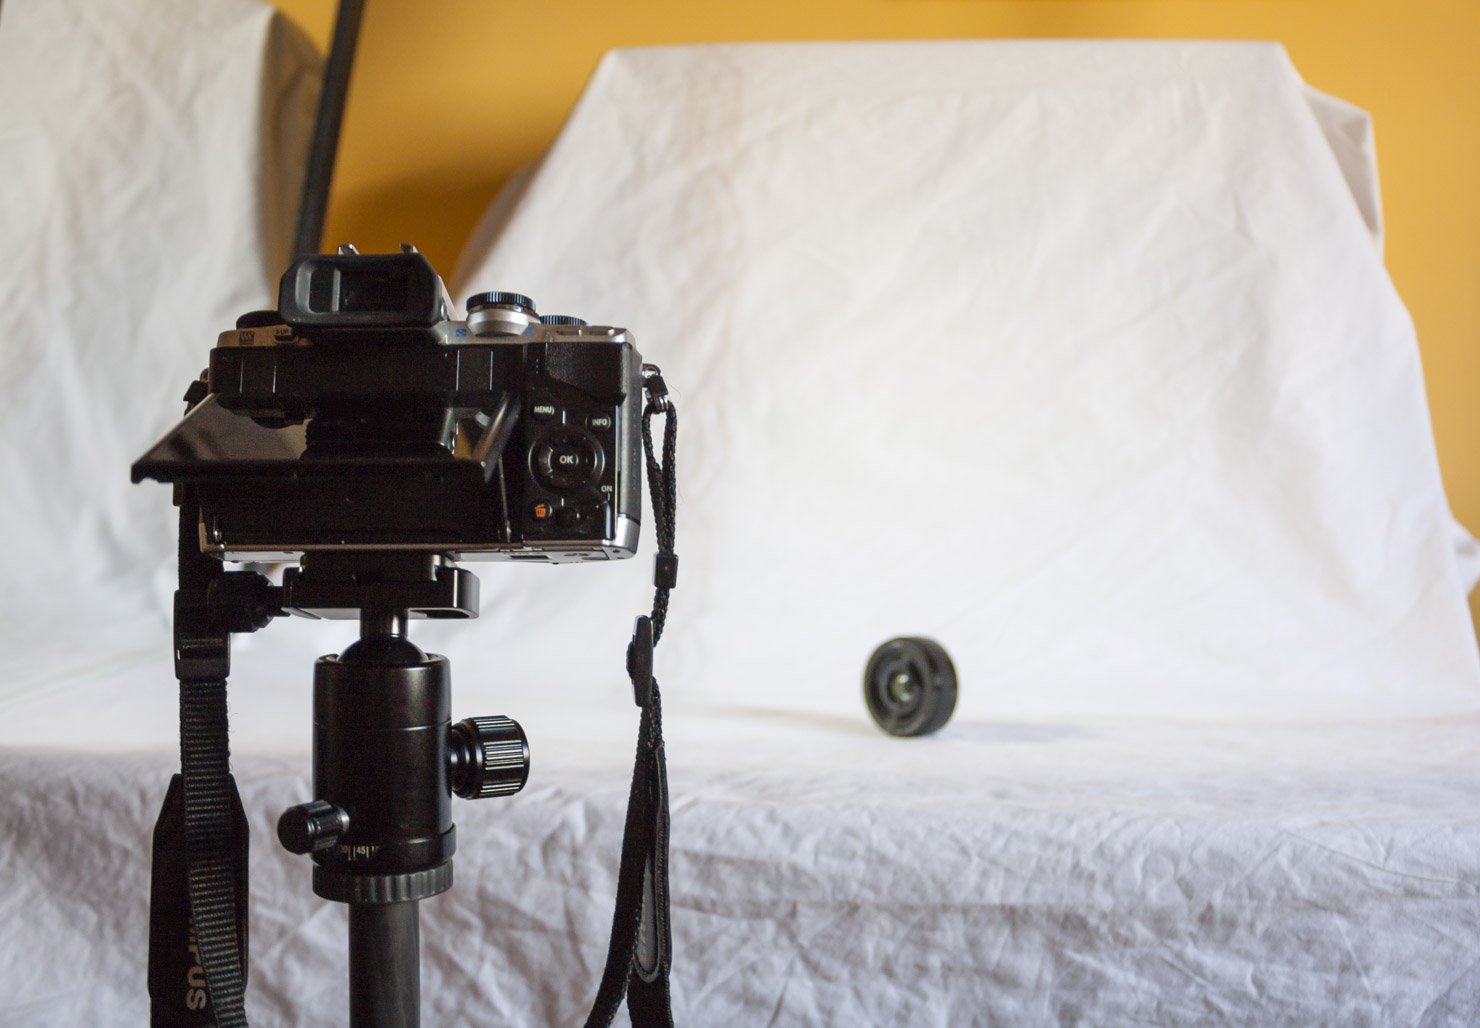
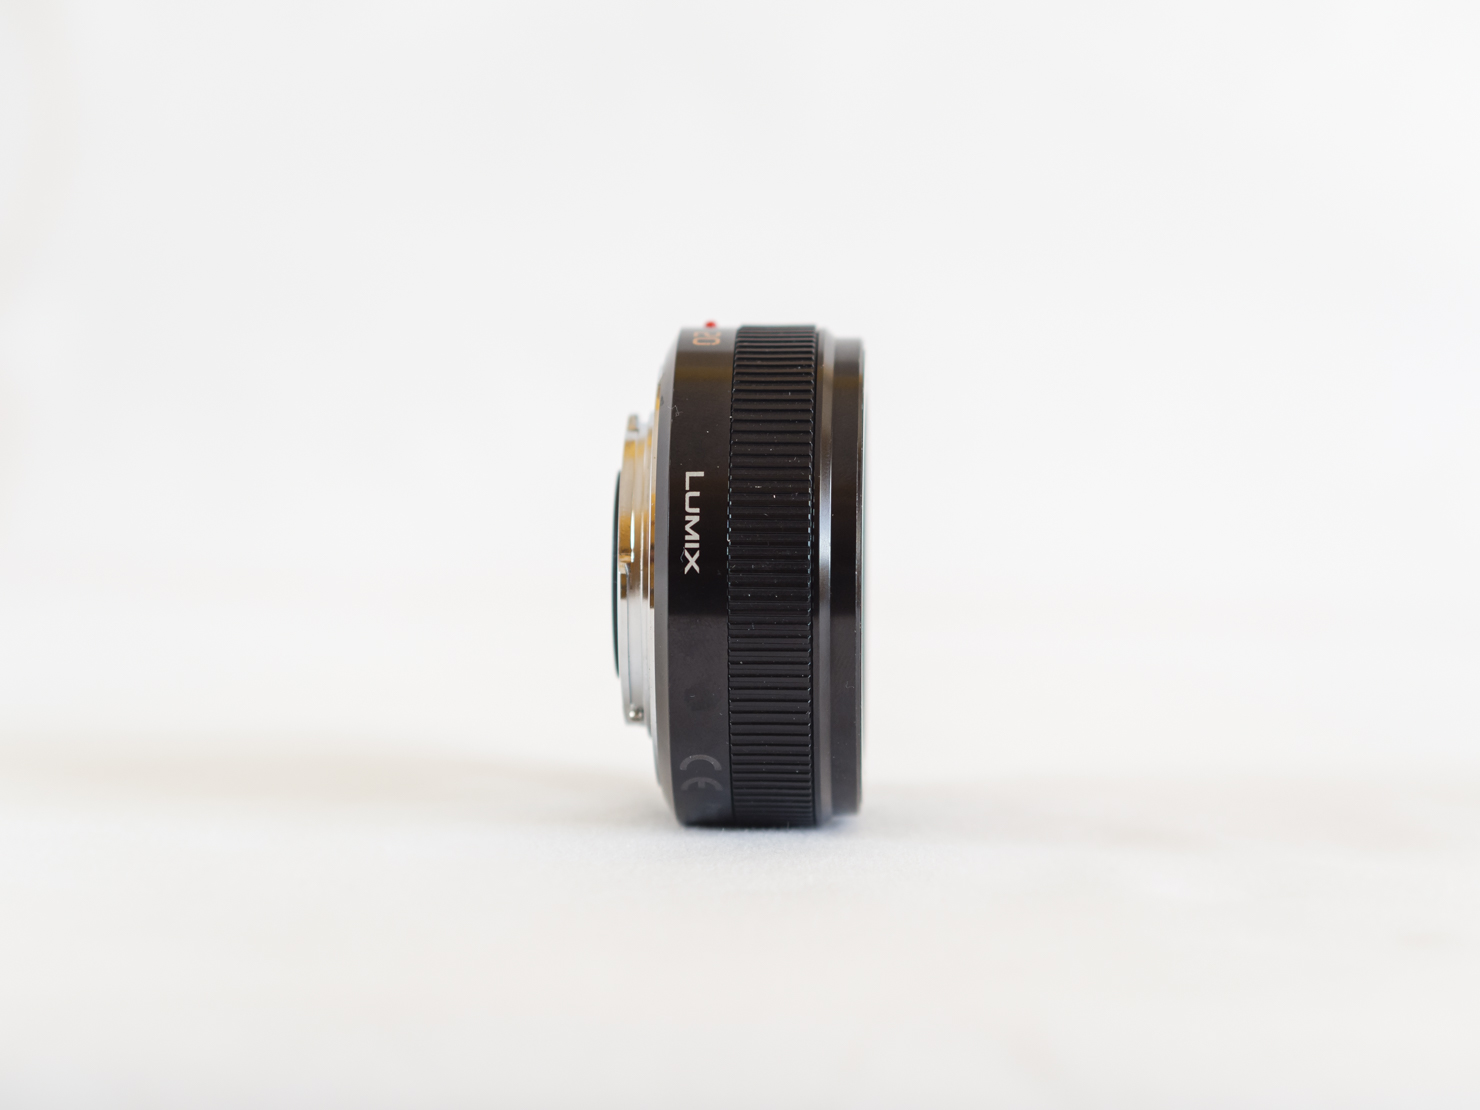
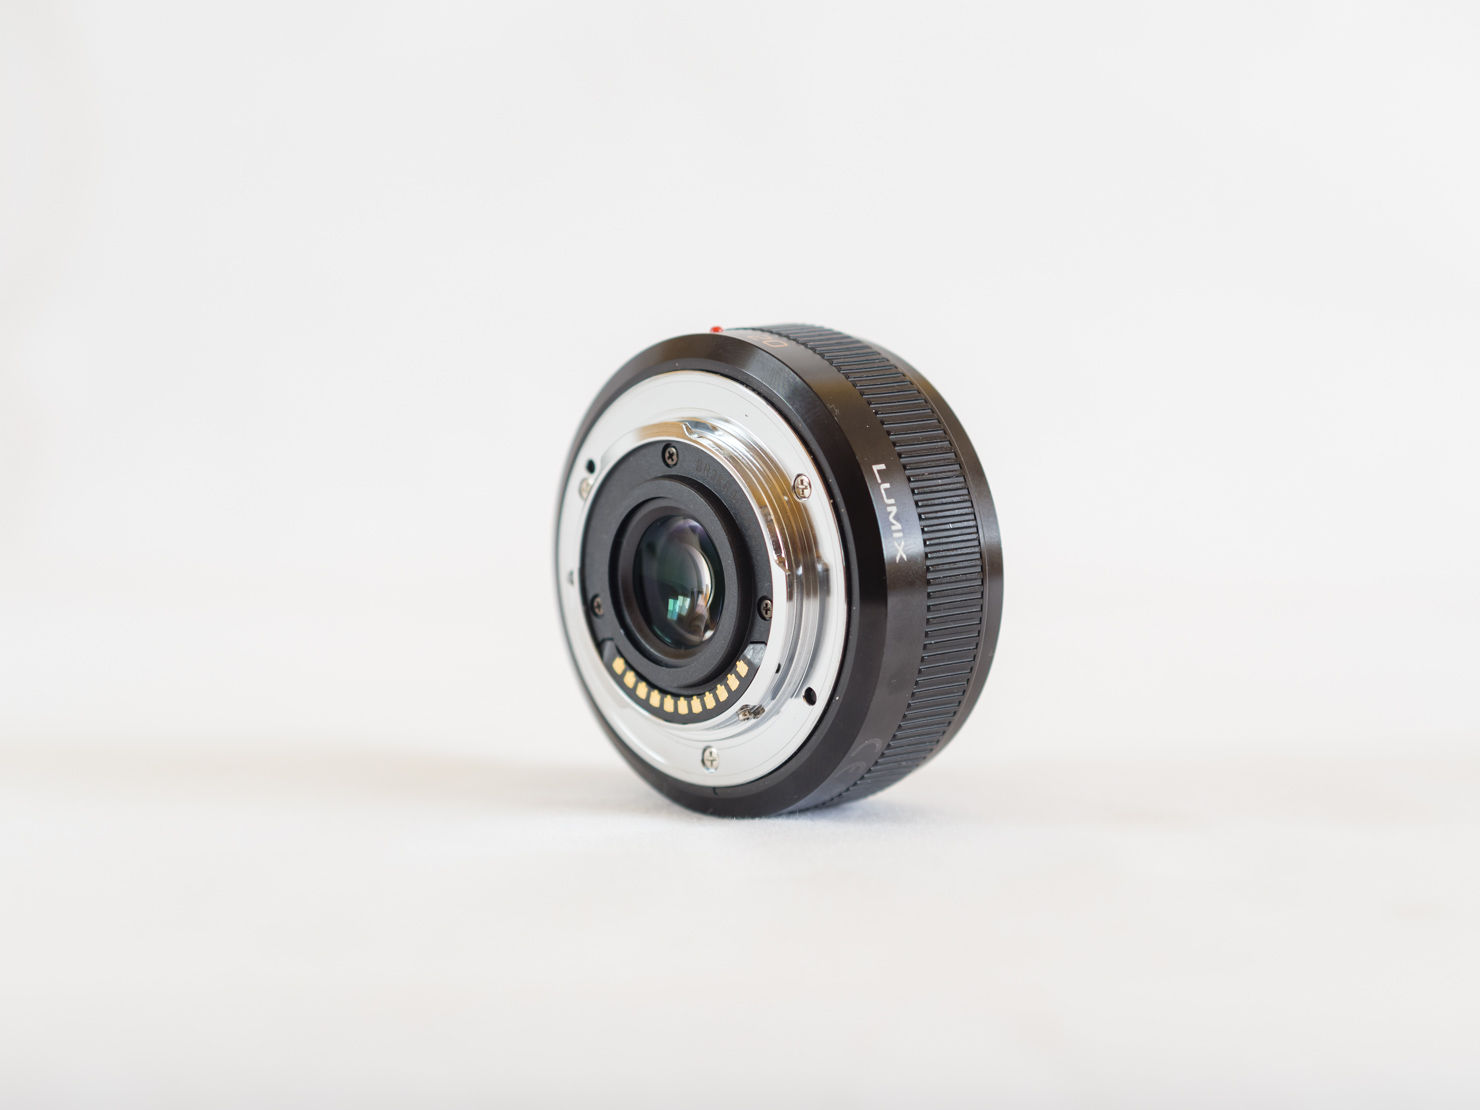
To that end, and in order to partially fund the switch, I needed to part ways with most of my beloved MFT gear. A few days ago I put up for sale four of the five lenses I own, and three of them have already sold — in under 48 hours, which was a huge relief. I’m keeping the camera and the Olympus 17mm f/1.8 for now because I’m still working on the review of the lens, but those two will also be going away as soon as I’m done with it.

Still, switching camera systems is always a huge investment, and deserves some careful consideration.

In my case, going with the Sony FE system was far from an obvious choice. Since I love shooting film and already own a Canon EOS 3, choosing a Canon body would have made all the sense in the world. Had I done that, I would have gotten to use all my lenses with both camera bodies, a pretty cool advantage indeed.

At the end of the day, though, I just can’t get over the fact that Canon doesn’t seem to be very interested in advancing the state of the art with their DSLRs anymore. It’s been three years since their current models were released, and even though both of them are due for an update soon, all the rumor sites are pointing to them being rather underwhelming evolutionary updates instead of the revolutionary leaps we’re all hoping for.

As such, I didn’t feel comfortable at all going with Canon, and to be honest, while I do enjoy shooting film, I’m not about to let my film camera condition such a huge investment. Plus, when you’re serious about shooting film, you shoot medium format anyway. So, the Sony FE system it is.

One thing to note is that my decision to go Full Frame comes right on the heels of the release of the new and mind-blowing Sony A7R Mark II. This was not a coincidence. I’ve been following the state of the Sony FE system closely ever since the original A7 was released, but up until the A7R II, I hadn’t been really convinced about the system’s potential to be a credible alternative to Canon and Nikon in the Full Frame turf.

As soon as it was announced, though, it became immediately clear that the A7R II is as close as we can get today to the perfect camera. I love it, and would love to own it, but unfortunately it’s not a sensible choice for me these days. But the important thing about the A7R II is what it represents: it is definitive proof that Sony’s FE system has a long, prosperous life ahead of it.

Out of the common complaints associated with mirrorless camera systems when compared with DSLRs — poor battery life, slow autofocus, etc. — there were two additional issues that, due to its Full Frame nature, particularly affected the Sony FE system: the small number of native lenses available, and the poor AF performance with adapted Canon and Nikon lenses. These two issues, of course, compound each other, as Sony would only really need to solve one of them in order to convince reticent users to give their excellent cameras a chance.

As it turns out, the A7R II shows Sony is really serious about fixing both of these issues.

Lens selection for the FE system has grown substantially over the past year and, at this point, I’d say all the system is missing is a set of fast f/2.8 zooms. Their prime selection could also use one or two lenses above the 100mm focal length, but other than that, the lineup is already pretty good for most uses — certainly for most uses I’d be interested in.

The AF system has also received a substantial upgrade in the A7R II, achieving perfectly usable AF speeds with most Canon and Nikon lenses via the use of inexpensive adapters. This will be huge for those that absolutely need to keep all their fast and expensive glass, but are otherwise interested in what Sony’s cameras have to offer.

So, if the A7R II is so good, why did I buy the A7 II instead, which still suffers from the slow AF issue?

The answer comes down to my limited budget, of course. I could have bought the A7R II, but that would have meant staying with only one native lens for at least a year, until I could afford to buy more. By going with the more affordable A7 II, I’ll be able to buy up to four excellent native lenses right from the start, which will hopefully provide a much more versatile kit.

I’m a huge believer in a very popular photography rule: when in doubt, put your money towards the glass, not the camera body.

The A7R II is a fantastic camera but, in all likelihood, less than a year from now we will have an A7 Mark III that will inherit its improved AF system and back-illuminated sensor, together with a few other upgrades, and it will probably be priced at around the same $1,700 that the A7 II costs today.

Being 100% honest, I have no need for the higher resolution of the A7R II. Coming from a 16-Megapixel MFT camera, the 24-Megapixel sensor of the A7 II will already be a nice upgrade for me. Also, I mostly shoot with primes, so the lack of a native fast zoom is not a deal breaker. I’d love to own one, but I can wait. In the meantime, I’m more than happy to get by with the perfectly decent 24-70mm f/4 native zoom.

As far as lenses go, the only lens I’ve already bought is the aforementioned Zeiss Vario-Tessar 24-70mm f/4 OSS, but I have plans to buy the Zeiss Sonnar 55mm f/1.8, the new Zeiss Batis 85mm f/1.8 and the Zeiss Distagon 35mm f/1.4 as well. These are three of the very best primes available for any camera system, and I can’t wait to get my hands on them. If and when a fast zoom is released, I’ll be happy to sell my 24-70 and get the new one. Similarly, when a future A7 Mark III is announced, I’ll probably get that one, too, and sell my A7 II.

For now, though, this isn’t a bad kit at all.

If shipping estimates are accurate, I’ll be receiving the camera and the 24-70 zoom sometime next week, or early the next one. Of course, I’ll be publishing my first thoughts and image samples shortly thereafter.

Until then, thanks for reading, and have a fantastic weekend.

♤ ♧ ♡ ♢

In my review of the Panasonic 20mm f/1.7 Micro Four Thirds lens for Tools & Toys, I tried a few new things for my product shots. I usually take these shots at home, in a variety of different real-life scenarios. Those tend to work well for the type of reviews we do at Tools & Toys, but there’s also something I really like about professional product shots. This time around, I wanted to try my hand at it and see what I could come up with.

My goal was to replicate the studio look you often see in professional product shots, so I decided to go for the same “white-room” look that my friend Josh Ginter often uses in his own product reviews.

The Olympus 40-150mm f/2.8 PRO zoom. Images courtesy of Josh Ginter.

There are several ways to achieve this look, the most obvious one being shooting them in an actual studio with proper studio lighting and a solid white backdrop. Luckily, if you don’t have access to a studio or lack the financial means to rent one, there are other alternatives you can use to get about 90% of the way there without spending a dime. All it takes is a little improvisation and some clean-up work in post production.

The end result, I believe, stands up fairly well to scrutiny.

Not too bad, is it? Now, let’s take a closer look at what it takes to get these results.

Necessary gear

In order to get a studio-like look in your product shots, this is what you’ll need:

  • A fairly spacious surface to work on, preferably a desk or something similar.

  • A window next to which we can set up our workplace.

  • A large piece of solid white fabric —or your color of choice — which will act as our backdrop. It must be large enough to cover the entire desk and not have much texture to it. Think of bed sheets, for example. Of course, there are actual studio backdrops you can buy and use, and they’re not particularly expensive, but in a pinch, bed sheets will do just fine.

  • A flat object we can prop up on our desk, creating a vertical surface to hold our backdrop in place. A computer screen, a television, a framed picture or something along those lines will work perfectly.

  • A large, reflective surface we can use as a reflector to minimize shadows. If you have a large standing mirror, that’s about perfect. If not, any smaller mirror or even a solid white surface will do.

  • Optional: If there’s not much light in your room or you want to keep the same framing across several shots, you will also need a tripod.

  • Optional: A second set of bed sheets to act as a diffusor.

  • A photo-editing application, like Adobe Lightroom.

That’s pretty much it. Now let’s see how we can use all of this to create our own studio at home.

Setting everything up

As you may have guessed from the list above, the procedure is actually quite simple. We set up our desk next to a bright window, if possible at the brightest time of the day. In order to scatter the light and reduce shadows, we will need to cover the window with some semi-transparent material to act as a diffusor. This is where the second set of sheets may come in handy if your window doesn’t have blinds on it.

Then we place our flat object on the desk resting up agains the wall to create a vertical surface on which to prop up our backdrop. In my case, my 24” iMac provided just about the perfect solution, since it stands on its own and doesn’t need a wall to lean on.

We then need to place our backdrop over the vertical surface in such a way that it covers the entire working surface, with some excess fabric left hanging over the sides and the front. If you’re using bed sheets or something like that, make sure to fold them a couple times to increase thickness and then give them a thorough ironing to minimize wrinkles. This will make out post production stage a lot easier. Also, be sure to place it in such a way that makes the intersection between the desk and the stand look seamless.

Once the backdrop is in place, we need to set up our homemade reflector at the side, placing it opposite the window. This will reflect available light back on our working surface, giving the illusion of a second light source in the scene and eliminating excessive shadows.

Once we have everything set up, we place our product on the working surface. Try to position it closer to the edge than to the backdrop, that way it will be easier to blur out the backdrop and give it a more uniform and less distracting appearance.

Finally, we set up the tripod in front of our working surface and fire away.

Shooting tips

In case it wasn’t clear, this article is not intended as a how-to guide to product photography. There are a million important aspects I haven’t even mentioned here that you should pay attention to. That said, this technique will give you a decent alternative for those situations where accessing a studio is just not feasible. With that in mind, here are a few general-purpose shooting tips you may find helpful:

  • Place the camera as close to your subject as possible while retaining proper framing. This will reduce depth of field and help separate the product from the background, which is ultimately the goal.

  • Use a long focal length, if possible. Choosing a focal length over 50mm (Full Frame equivalent) will minimize distortion and show the product’s relative proportions more accurately. The sweet spot for this type of shots is usually between 85 and 135mm.

  • In general, the more light the better, so be sure to take the shots during the brighter part of the day. If your diffusor takes away too much light, using a tripod will become a necessity.

  • Keep ISO as low as possible to minimize noise. If you use a tripod, you won’t have a problem with this, even if you need to use super slow shutter speeds — think of 1 second and beyond.

  • Keep in mind that the longer the focal length, the farther away you’ll need to stand in order to achieve a similar field of view. These two aspects are always in opposition, so choose the compromise that works best with your available space. This will also depend on the size and shape of the object you want to photograph.

  • If the object you’re photographing is full of shiny reflective surfaces, using a flash may not be a good idea. If not, try firing off a few shots with the flash to see if you like the effect. If your window is bright enough and your reflector is properly positioned, the flash shouldn’t be strictly necessary. Also, keep in mind that using a flash will completely eliminate any shadows from the scene. If you want to make sure crucial details aren’t masked by shadows, think about using it.

  • Try to keep the backdrop out of focus, but shoot with enough depth of field to ensure most of the product remains in focus. If you’re shooting with a fast prime, you’ll probably need to stop the lens down a bit to achieve this. Besides gaining you some depth of field, stopping down the lens slightly will also result in sharper pictures with less chromatic aberration and vignetting, which is also highly preferred in product photography.

  • Be sure to check your images for focus every now and then, and always before switching the product’s position on the desk. Also, don’t forget to review all your images before taking down your studio setup.

This is what you get straight out of camera when using this technique. It’s not bad, but we can do better. Let’s see how we can improve upon this in the post production stage.

Post production

Once we’ve taken the images, we’ll need to edit the files to remove any imperfections that remain. I will be using Lightroom here as a reference, but you can use whatever photo-editing application you want, provided they have a similar feature set. Luckily, most of them do.

Once we step into Lightroom, there are several things we can do. For starters, we need to set the appropriate white balance. Click on Auto and see if the image changes for better or worse. If you don’t like what you see, use the eye-dropper tool to set the gray point and click on the background, which should be white but not totally blown.

We can also can change the tone curve. I like to use a medium contrast curve to emphasize lines a little bit better.

Then, we need to equalize the highlights and the shadows. In general, I have found boosting the shadows by about +30 and reducing the highlights by about -40 is a good place to start.

Next up, we apply a bit of sharpening and noise reduction to get everything looking nice and sharp. If you’ve shot at a low ISO setting, go easy on the noise reduction because just a little bit will go a long way, and we don’t want to smear the details. These are my usual sharpening and NR settings:

Again, these are just to get you started. You should of course tweak them to find something you’re happy with.

Now our picture should be looking fairly well, but the backdrop is probably still a bit distracting. In order to smoothen that out, we’re going to use Lightoom’s radial filter tool.

We click on it, and then we draw an ellipsis around our object, making sure that we’re capturing everything. This tool will apply our settings to everything outside the ellipsis, so we need to make sure we get it all. We can also adjust the intensity of the transition between the inside and the outside of the ellipsis by clicking and adjusting the Feather slider.

Once we’ve drawn the ellipsis and set the transition to something we like, we’re going to bring the Clarity and the Sharpness sliders all the way down to -100. This should greatly improve the appearance of the background.

In this case, the improvements are not that noticeable because framing was already quite tight, but if you have a wider composition, you’ll be able to appreciate it much more.

Conclusion

At this point, your images should be pretty much finished. As you’ve seen, all it takes is a bit of improvisation and patience, and you can get pretty good results right at home and without spending a dime. Obviously, doing these shots in a proper studio will always be better, but if you ever find yourself without access to one, it’s good to know you have options.

This technique works very well for small products like cameras, lenses and the like. If you need to take pictures of bigger objects, you’ll probably need to consider buying a proper studio backdrop with a built-in support stand.

You may think this whole procedure is just too much hassle to be worth it, but it really isn’t. You can set everything up and take it down in about five minutes, so it’s actually easier and faster than driving to the studio when you think about it. And it doesn’t even take that much effort in post production, because you can save most of these edits as a Lightroom preset. Then, all you need to adjust for each individual shot are the white balance and the size of the ellipsis for the radial filter, both of which you can do in literally under 30 seconds.

I, for one, am pretty happy with how this experiment went, and you can bet I’ll be using this technique again for upcoming reviews. I love how incredibly simple it is, all things considered, and how great the results are. And, of course, not having to spend any money also helps.

♤ ♧ ♡ ♢

Portrait Perfection - MirrorLessons reviews the Zeiss Batis 85mm f/1.8 lens for the Sony FE mount →

August 07, 2015 |

Loved this review by Mathieu and Heather from MirrorLessons. According to many reviewers, the Zeiss Batis 85mm f/1.8 lens may well be the second-best 85mm lens ever made in terms of optical quality, second only to the ultimate manual focus beast, the Zeiss Otus 85mm f/1.4. Then again, the Otus is $4,400, so I suppose that’s to be expected.

Check out the video part of the review to get a taste for what you’ll find in it:

Both of the recently announced Zeiss Batis lenses look fantastic, but the 85mm is the one that seems most appealing to me, by far. There’s something about this lens that reminds me of the Leica Nocticron lens for Micro Four Thirds. Both seem to take build and image quality to a whole new level inside their respective systems, and both seem to just be incredible portrait lenses.

The Zeiss Batis lenses still haven’t shipped in volume, so grabbing one will continue to be difficult for now. If you can get ahold of one, tough, it looks like you’re in for a treat.

♤ ♧ ♡ ♢

Waiting for Android’s inevitable security Armageddon →

August 06, 2015 |

Ars Technica’s Ron Amadeo, writing on the future implications of Android’s recently uncovered Stagefright security vulnerability:

In a perfect world, the idea of literally billions of easily-pwnable Android handsets would be enough to get Google, the OEMs, and the carriers to all sit down, set aside their branding guidelines and marketing department-enforced differences, and say, “We need to fix this.” But we don’t live in a perfect world. In the real world, carriers and OEMs want to keep their branding and customization hooks in Android so that they can advertise to customers with their own apps and interfaces. Neither appears to want to take responsibility for the unprofitable post-sale support of the millions of devices they create and sell.

At some point, a huge Blaster worm-style Android security armageddon seems inevitable—and that’s what it’s going to take to bring real, meaningful change. Stagefright is a big deal, and the Android ecosystem’s reaction to it is literally 2.6/100ths of what it needs to be.

Ouch.

♤ ♧ ♡ ♢

Au unnaturale: why CGI nudity is here to stay →

August 06, 2015 |

Nice piece by Lux Alptraum for The Verge. Lately, more and more Hollywood actors and actresses are turning to CGI to simulate nudity in movies and TV shows, most notably, Lena Headey in the last season of Game of Thrones. Alptraum’s piece offers insight into why this is becoming a trend, and it goes beyond mere economic aspects:

But even as prices of digital effects drop, they’re still more costly than just shooting a performer nude. So why are we seeing such a dramatic uptick in altered nudity? In the years since Machete, numerous theories have been floated. Some have suggested it’s a way to get around nudity banning clauses in performers’ contracts, while others have seen it as a way for performers to have their cake and eat it too, receiving kudos for risks they didn’t actually undertake.

According to one CGI editor, who requested anonymity, the truth of the matter is far simpler: directors offer the CGI option to make performers as comfortable as possible, and, in turn, to create the best scene possible. A performer who feels awkward stripping down in front of not just co-stars and a director, but a crew full of shooters, PAs, film assistants, and anyone else who might be present on set that day, is unlikely to turn in a stellar performance. Far better to shoot them in a more comfortable set up, and digitally add in the more risqué aspects of the scene after.

I wouldn’t have thought of it that way, but it makes total sense. It’s also not that different from using body doubles, a technique that has been around for ages.

♤ ♧ ♡ ♢

My review of the excellent Panasonic 20mm f/1.7 II APSH pancake lens for the Micro Four Thirds system — which happens to be on sale right now on Amazon — was published today on Tools & Toys.

This is one of my favorite lenses and, as much as I’ve tried in the past to convince myself that I’ve outgrown it, I always seem to come back to it. The image quality out of this lens is really incredible, especially when taking into account its diminutive size.

However, not everything about it is beyond reproach. Slow autofocus — especially by today’s standards — mediocre manual focus implementation, and banding at high ISO settings are certainly non-trivial issues that may turn out to be deal breakers for some. For most people, though, the Panasonic 20mm is definitely a keeper.

To find out more about this little jewel of a lens, head on over to Tools & Toys for the full review.

♤ ♧ ♡ ♢

August 01, 2015

Another week has come and gone, and things in the tech community seem to have fallen in a typical summer stupor. Not even the release of Windows 10 and the rumors of a likely new Apple TV managed to inspire much debate, at least among the people I follow on Twitter.

Luckily, that is not to say people haven’t been writing at all.

Issue #8: on photography, fear, developing diabetes apps, and capitalizing the Internet

As usual, you’ll find a bit of everything among this week’s excellent pieces of writing. I’m increasing the amount of commentary on some of the links this time around, while reducing the amount of links overall. Hopefully this strikes a better balance between editorial selection and volume of published pieces, while keeping the entire issue easier to digest. Let me know what you think.

Now, let’s get to it.

“Letters from a Recovering Camera Addict” Step 1: Admission | Josh White →

Josh White can’t stop himself from wanting to buy every camera he lays eyes on:

Some say there isn’t anything wrong. This ISN’T an addiction. I’m here to say, they are wrong. Addiction by definition is the inability to stop a habit.

There are many symptoms. First, the morning coffee. The coffee, a different addiction, is just a means to sit in front of a computer and feed. The first thing you may check is ESPN or the news. That makes the addiction feel less real. Next though, the reality of it.

I’m well acquainted with this feeling. I can lurk in online forums for hours, until something snaps inside my head and I manage to come back to the real world. Of course, knowing I can’t really afford most of those items helps. If money was no object though, I’d probably own a lot more garbage right now.

Review: Zeiss Loxia 35mm f/2 Biogon T* | Jordan Steele →

Fantastic review, as usual, by Jordan Steele. The Zeiss Loxia lenses for Sony’s FE mount are modern incarnations of the classic all-manual lenses of old. I had read pretty much nothing but praise about these lenses until now, which is why it was a bit surprising to see Jordan taking the Loxia 35mm to the woodshed for its “terrible” bokeh:

At f/2 and other wide apertures, the bokeh on the Loxia 35mm is frankly terrible. It’s got severe bright ring outlining, can produce nervous double line behavior that is very unappealing and can easily display longitudinal CA on specular highlights. Towards the edges of the frame at f/2, specular highlights take on a rather ugly gumdrop shape with a bright outline on the curved portion that fades on the straighter edge. In some cases, this look adds a bit of character. In other situations, it can be downright offensively ugly, as seen in the shot below.

That is a huge disappointment indeed, all the more considering this is a manual focus prime lens that costs a whopping $1,300. With such a relatively simple, tried-and-true optical design, image quality should be nothing short of stellar at this price point. The Loxia 35mm seems to be a very solid lens otherwise, but for all of you bokeh-lovers out there, this may well be a deal breaker.

Improvement | Casey Liss →

Casey Liss ventures into his E-M10’s manual mode for the first time, and the results are super nice. However, there’s something about his post that rubbed me the wrong way:

I didn’t set out wanting to take a great picture in manual mode; I just set out to take a great picture. Since I’ve been taking pictures with this camera for nearly a year now, I’ve built up more and more confidence over that time. Thanks to just being patient, and trusting my instincts, I was able to, well, level up my skills.

As it turns out, there’s no shortcut to lots of practice, and time.

I see where he’s coming from with this, but the truth is, there really is a shortcut to practice and time: it’s called training. As in, formal training. There’s a profound difference between the two.

I’m no stranger to the nerdy impulse of wanting to figure things out by yourself, and the subsequent adrenaline rush that comes when you achieve something entirely on your own. It feels great, but it’s a terribly inefficient way to learn. The word “self-taught” carries a lot of bragging rights these days, but it’s entirely misguided.

Instead of fiddling with his camera settings for a year until he built up the courage to fly solo, an afternoon or two of quality reading followed by some practice is all it would have taken Casey to learn everything he needed to know to take that picture, and many others. Then, of course, the more practice the better.

It’s not about figuring out which dial you need to turn to make the image look good on each particular situation, it’s about knowing what you’re doing well in advance and being in control of the creative process.

Contrary to what many people would have you believe, that knowledge should not only come from years of practice, but from formal training as well. When you learn the technical and theoretical underpinnings of photography, you can anticipate things instead of reacting to them. Practice helps, but it takes a great deal more of time and effort to learn just by practicing alone.

Like CJ Chilvers once said: “Lots of photographers have come before you. They’ve made a lifetime of trivial mistakes. There’s nothing noble in repeating them yourself.”

All this I say with the utmost respect for Casey. Nothing farther from my intention than criticizing him or downplaying his work. It takes courage to show the world something you’ve done, because you’re exposing yourself to some harsh criticism by doing it. That’s not what this is. I have nothing but respect and admiration for Casey and I’m a huge fan of his work.

That said, this is a greater conversation that we really should be having more often on the Internet. I strongly believe we could all benefit from it, myself included.

Give your (possible) best | Florian Taltavull →

Speaking of the fear of putting something out there, my friend Florian Taltavull wrote a fantastic piece this week:

You can never know if the work you do is good. You will never know if someone else will appreciate it. There’s one thing though you can be sure about, if you show up every day - which doesn’t mean you have to publish something every day, but at least think about it or work on something bigger - you can be proud about improving your skills. Give your best and the effort will be worth it.

I agree with every word on this piece, and I would add to it this sentiment: strive to learn as much as you can about the work you’re trying to do. If you’re a writer, consider taking a writing class, or sign up for a writing seminar. If you’re a photographer, take a photography course. At the very minimum, surround yourself by other real human beings who have done it before you, and engage them in actual conversation. Ask questions, and listen to their answers without prejudice, even if it hurts at first. You’ll be surprised at how much you can learn just by comparing notes with fellow travelers.

Excellence is rarely born in a vacuum, so don’t isolate yourself from the rest of the world. That only reinforces bad habits and keeps you from growing as a maker. And remember: fear is a good thing. The day you stop feeling it, you’ll know you’re not pushing yourself hard enough.

Get out of your own light | Maria Popova →

Great piece by Maria Popova on the work of English writer and philosopher Aldous Huxley:

In one of his twenty-six altogether excellent essays in The Divine Within: Selected Writings on Enlightenment, Huxley sets out to answer the question of who we are — an enormous question that, he points out, entails a number of complex relationships: between and among humans, between humanity and nature, between the cultural traditions of different societies, between the values and belief systems of the present and the past.

The ultimate Apple Watch review | Medium →

This was an interesting experiment from Medium. They’ve built a collective review of the Apple Watch by consolidating small bits and pieces from the many articles Medium users have been posting to the network in the past few months, complete with attribution and everything. I guess you could think of it as crowd-sourcing a review. I must admit I’m not a big fan of this approach, but in this case the result was more entertaining and insightful than I initially gave it credit for.

Also, check out M.G. Siegler’s response to this review.

Inside Spotify’s plan to take on Apple Music | John Paul Titlow →

There is a fascinating battle going on between several major players for the future of the music business, and it looks like one of the keys to success will be in each service’s ability to discover new artists before they explode and become famous. Here’s how Spotify’s Brian Whitman is helping the company tackle the issue:

How does he know? The machines told him, naturally. Fresh Finds takes a central component of The Echo Nest’s original methodology—its web content crawler and natural language processing technology—to mine music blogs and reviews from sites like Pitchfork and NME and figure out which artists are starting to generate buzz, but don’t yet have the listenership to show for it. Using natural language processing, the system analyzes the text of these editorial sources to try and understand the sentiment around new artists. For instance, a blogger might write that a band’s “new EP blends an early ’90s throwback grunge sound with mid-’80s-style synthesizers and production—and it’s the best thing to come out of Detroit in years.” If this imaginary act goes on tour and writers in Brooklyn dole out praise of their own, the bots will pick up on it. It helps address an issue some people have voiced early on with Apple Music, that its selections aren’t adventurous and it tends to recommend things you already like rather than things you might like.

So, instead of using a computer-generated algorithm to find new music, they’re using a computer-generated algorithm to find blog posts about new music. Got it.

What’s the future of diabetes apps? | James Turner →

James Turner:

Having an ongoing condition sucks and constantly being told you’re not doing well by an app is far from helpful.

If app developers want to actually help users on a deeper level, they need to start engaging with users.

Decision support is also an interesting area for developers. Helping users (especially newly diagnosed ones) choose the right course of action, based on all the data they gave the app is an exciting new frontier.

I couldn’t agree more with him, but the underlying difficulties at play here are nothing to sneeze at. It’s one thing to log and display data and trends, but providing recommendations in a clinical app is a hugely sensitive task, especially for conditions like diabetes, where the wrong recommendation can actually kill someone.

The fundamental problem is that clinical apps need to be designed by both doctors and developers working together, and they both speak different languages. As a biomedical engineer who specialized in diabetes research — not to mention a type-1 diabetic myself — I’m perhaps uniquely qualified to understand all sides of this argument.

I’ve been developing diabetes management apps in a clinical setting for years, and the most difficult thing is realizing where the limits are. Knowing what you can and cannot do with a given set of data is far from trivial. In fact, the scope that it takes to develop something responsibly, not to mention having the end product validated in a controlled clinical environment, is out of reach for pretty much everyone but major corporations and teaching institutions.

We need to talk about drug-resistant infections | Tom Freeman →

Tom Freeman makes a crucial point on the difference between “antimicrobial resistance” and “drug-resistant infections”:

Scientists and health policy makers use “antimicrobial resistance” to mean that the microbes develop a resistance to the drugs.

This is the sort of confusion that happens when you carelessly use an abstract noun like “resistance” – whose resistance to what? It’s especially confusing when you couple it with a scientific word that most people don’t know.

A better term, the research suggested, would be “drug-resistant infections”. This clearly says who is resistant to what.

He argues that due to the confusion between both terms, people don’t finish the full course of their prescribed treatment for fear of developing a resistance to antibiotics, which is just about the worst thing they could possibly do.

Stop capitalizing the word Internet | Adam Nathaniel Peck →

I couldn’t disagree more with this piece. Count me in with The New York Times, The New Yorker, The Atlantic, and The Associated Press Stylebook. I’m all for capitalizing the word Internet, as well as prefacing it with an article, as in: the Internet.

What struck me as weird is that in this piece, Peck cites popular usage as the reason to stop capitalization, and yet he goes on to disclose that a majority of users — 54 percent — still capitalize the word. If a majority of users continue to prefer capitalization, what popular usage is he referring to, then?

Plus, I wouldn’t give much credit to online comments forums as stewards of proper grammar. Writing “internet”, with a lowercase i, is easier than capitalizing it, and requires less effort, so it’s no surprise that this usage is more common in certain online circles. But that has very little to do with how we perceive the word, and very much to do with the fact that people are lazy.

Via Josh Ginter.

Afterword

This past week has been tough. I’ve been struggling to get into a writing rhythm I like, probably because of the insane temperatures we’ve been suffering for far too long over here. Even at my favorite cafe I couldn’t manage to concentrate as I wanted. If I’ve learned one thing from this is that working at 40ºC is not conducive to great creative output.

That means most of the week was dedicated to more mundane tasks, like processing the thousand or so pictures I took during the baptism of my best friend’s son last Sunday. I was the designated photographer during the ceremony, and while I loved the experience, I was also made painfully aware of how important it is to have a high-quality zoom in your bag.

I took the pictures with my Olympus E-M10 camera and the Panasonic 20mm, the Panasonic Leica 25mm and the Olympus 45mm lenses. The Leica was by far my most used lens, although I did manage to capture some truly great shots with the pancake as well.

As much as I love them though, the reality is that shooting an event like this with prime lenses is an exercise in frustration. I had to switch lenses a couple times during the ceremony, and I was constantly worried of missing an important moment due to having chosen the wrong focal length. Luckily, I managed to capture everything I wanted but the lesson was not lost on me. If I decide to stay within the MFT system for the long term, investing in a high-quality zoom like the excellent Olympus 12-40 PRO seems like a total no-brainer.

Here are some of the shots I’ve already processed. I really enjoy how some of them have turned out.

As for what’s next, I’m working hard on my upcoming review of the Panasonic 20mm f/1.7 pancake lens, which should be published next Tuesday on Tools & Toys. This is a truly fantastic lens and coincidentally, it’s on sale right now on Amazon for $298, which is just a ridiculous deal. If you don’t want to wait until Tuesday, feel free to go pick it up now.

And speaking of that review, I’ve been playing around with my setup for taking product shots, and I really like what I’ve managed come up with so far. Taking a page from Josh Ginter’s playbook, I’ve decided to go with a solid white backdrop for my product shots this time around.

Not too shabby for an improvised studio setup at home, is it? I’ll let you know more about how these pictures were taken once the full review is published. Until then, have a wonderful weekend, and thank you for reading.

♤ ♧ ♡ ♢